There are quite a number of service providers but we shall comment on the few that we think you can consider trying out. You can search the web for more. The key factors that we looked out for are simple configuration, nice colors and design, guard against comment spam, and ease of use. You may see advertisements in the free plans, but they are usually not that obtrusive and you can probably live with that. These providers may offer paid services as well, with extra features or bigger storage space for your messages. Our advice is to start off with their free service and monitor the usage of your chat box before upgrading your basic plan.
Cbox
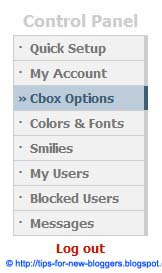
We used their chat box for this site primarily because they have the essential features we wanted and the design looks sleek. Sign up with them, and begin configuring your chat box. Under the “Cbox Options” tab, configure the Display, Date and Post Options. Note that under “Post Options”, there is an “Anti-spam” feature. Tick that. Click “Colors & Fonts” and select the colors that will blend well with your blog. Use the “Color Picker” option at the top right corner if you are not familiar with the HTML color code. When you are done, click the “Quick Setup” tab to get your HTML code.
Login to your Blogger Dashboard, go to Template-> Page Elements. Where your sidebar is, click “Add a Page Element” and select “HTML/JavaScript”. Copy the above HTML code, paste it, and save the widget.
If you should receive any spam post, go to “Messages”, ban the user and delete the message. Under “Blocked Users” you can change the duration of the ban.
Shoutmix
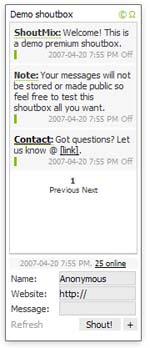

Here, your chat box is called a shoutbox. Once you have entered your bare particulars, choose one of their standard shoutbox styles, and your account is created. Go to the “Style” category. Shoutmix is interesting in that you can tweak the “Labels” in addition to the “Appearance”. Configure the settings under “General”. When you are ready, click the “Use Shoutbox” tab. You can now alter the width and height of your shoutbox and “Generate” the HTML code.
If you have a family-oriented blog, you may turn on the “Profanity Filter” by specifying a list of words that will not be shown in the shoutbox. You can also ban specific users or sites through their “Ban Control” option.
Oggix
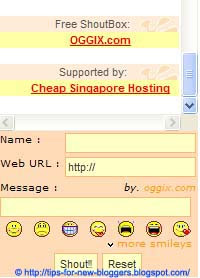
A number of blogs have this shoutbox. Other than unlimited messages, you can find a wide range of custom tools and features. For a period of time, their code could not work on the new Blogger platform. That should have been fixed by now. Feel free to use their demo shoutbox and enter test messages before registering with them.
Tag-World

Some features like profanity filter are not available on their free plans. Otherwise, they have the usual customizable layouts, IP blocking, and anti-spam controls that you can find in the earlier sites. A simple tagboard that you can use for your blog.
Google Talk
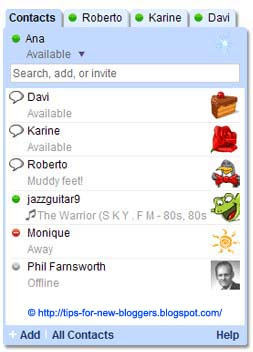
If the visitors to your blog are family members and friends, get them to register free accounts with Google. You may then add a Google Talk gadget to your blog. Click “Add to your webpage” to configure the size of your widget and generate the HTML code. Your visitors can now chat away on your blog.
Plugoo
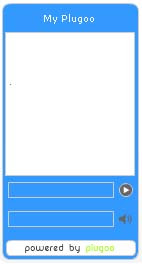
There is this rather different and interesting service which you can check out. Imagine that you are in office, or do not want to be glued to your blog all the time. Should your blog visitor post a message on your chat box, you may not know about it until you have a chance to look at your blog. Plugoo has therefore created a new communication method enabling you to chat with your visitor through your Instant Messenger.
Even in office, most of us use Instant Messenger service to communicate with one another. As long as you have an account (GoogleTalk, Windows Live Messenger, Yahoo! Messenger, AIM, Jabber or ICQ), it can be linked to Plugoo. When visitors to your blog post messages on your Plugoo chat box, you will see the messages in real-time and are able to reply instantly. Your visitors do not need an Instant Messenger to chat with you, and will not know your Instant Messaging account address. The limitation however is that you can only chat with one person at a time.
0 comments:
Post a Comment